design
For this project, I decided to continue working with the same concept as the previous week. For a review of the "whirlibird" idea, you can check out my first post: analog 3D model.
This week, my goal was to add an additional fabric component for my project. As part of the assignment for my class, I had a few requirements:
- must be made of some kind of flexible fabric or material
- must use sewing to connect and assemble the component parts of your design
- must use some sort of fastening mechanism as part of the design
- must use a simple electronics interaction (e.g., an LED lights up when the wearable is touched to a surface)
As promised, my plan for this week was to create a fabric chin strap for the hat prototype I'd previously created. The foam strap that I'd used previously was good for the quick prototype, but it didn't fit well and wasn't adjustable or (non-destructively) removable.
By doing so, I could investigate the feasibility of a fabric strap for the whirlibird, and see if this new attachment method would prevent Roxy from taking the hat off herself, or (ideally, but less likely) make the hat less uncomfortable for her so she no longer wanted to take it off.
prototype
The first step in creating this fabric prototype was to create a template to base my design on. I measured the correct length of the strap by marking my old foam strap, then used that as the basis for a template. I added some extra length to each side to allow for attaching the strap to the hat and folding the strap into itself, then cut a piece of t-shirt (the most readily-available fabric I had) to fit. I also transferred my guide lines onto the fabric. Since this side would become the inside of the strap, it was okay to mark on it.

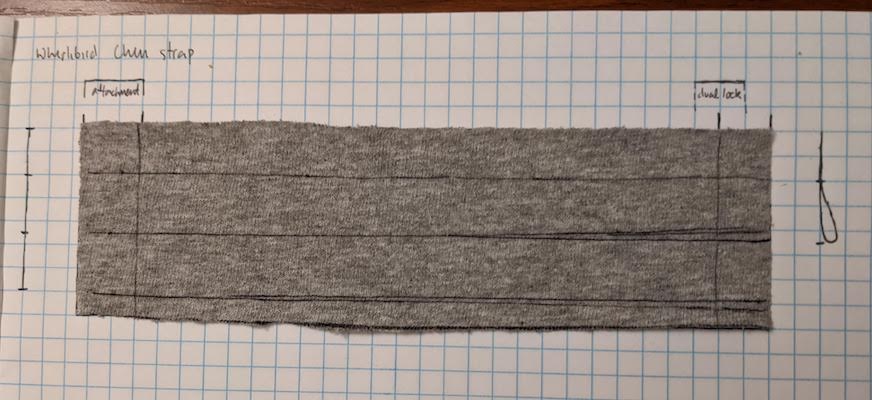
The correct size measured on the old foam strap, and fabric cut to fit my template.
This turned out to be unexpectedly difficult. I didn't really have the proper tools to cut the fabric, which was a bit tough. I couldn't be as precise as I wanted using scissors, so I used my utility knife to cut the fabric, using folded pieces of cardstock to guide the blade. Thankfully I already had a cutting mat from the kit I purchased freshman year for Design 166!
I needed to include some way to fasten the strap, and I also wanted it to be adjustable. I decided to use Dual-Lock, which is essentially velcro that sticks to itself, since I already had some spare strips, and it would allow a continuously adjustable fit (as opposed to discrete attachment points with snaps). The other advantage of Dual-Lock over velcro was that I was worried that the -cro side of velcro would catch and snag on dog fur, while Dual-Lock doesn't tend to catch fur easily.
Using a fastener like Dual-Lock is also important for safety. If the hat were to catch on something, it's crucial that the strap doesn't choke or cut the dog wearing it, so it needs to tear away. By using this fastener, it can do so non-destructively and be easily reattached later.
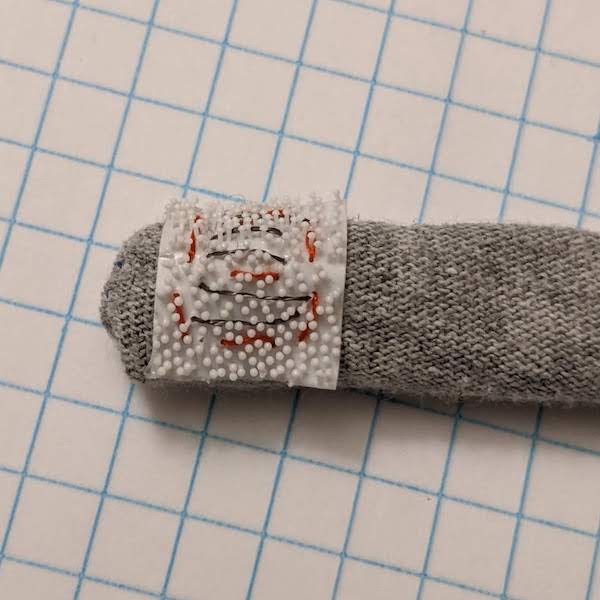
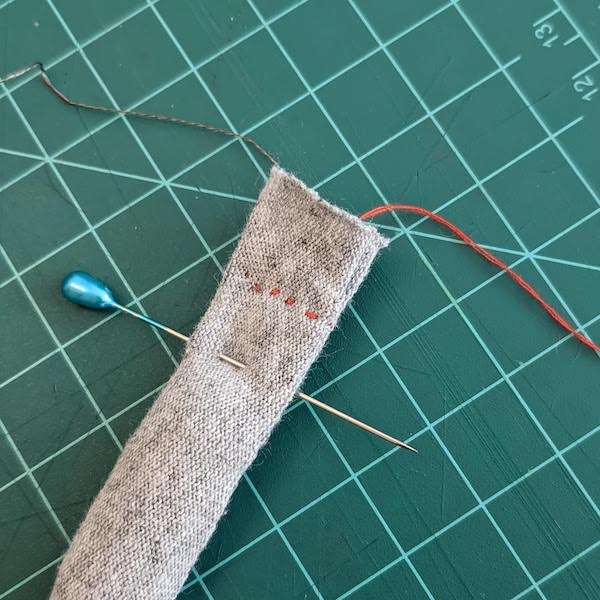
I sewed a square of Dual-Lock onto the outer side of the fabric in the space which I had previously measured for it. Once I was satisfied it would hold in place, I sewed over the Dual-Lock again with the conductive thread. By doing this on both pieces of Dual-Lock, I was hoping that it could serve as a sort of switch that could complete a circuit when the strap was attached. I knotted the conductive thread to ensure it would have some slack near the end, then sewed the conductive thread down the length of the strap with a wide, lose stitch, so the fabric would still be able to stretch normally.
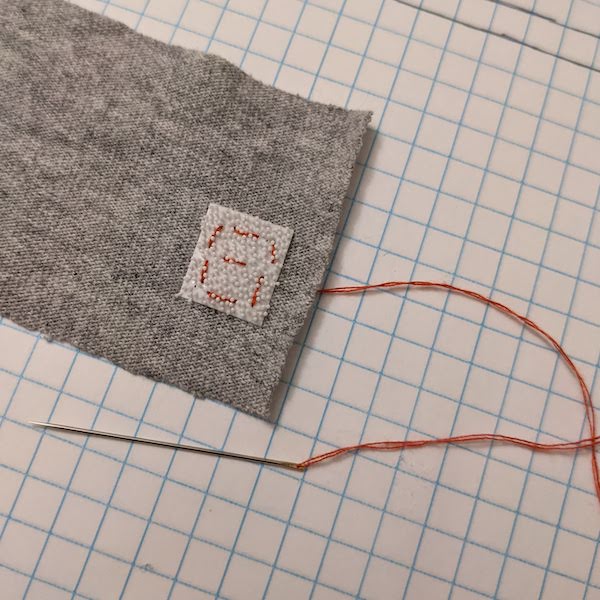
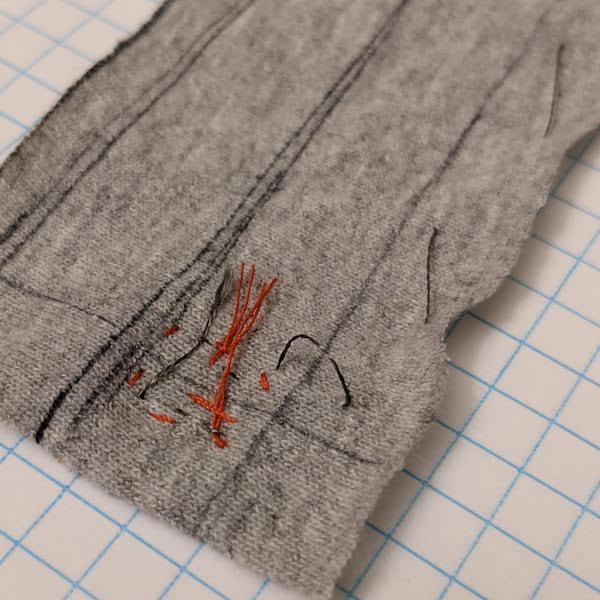
Front and back of the Dual-Lock square, before and after adding conductive thread.
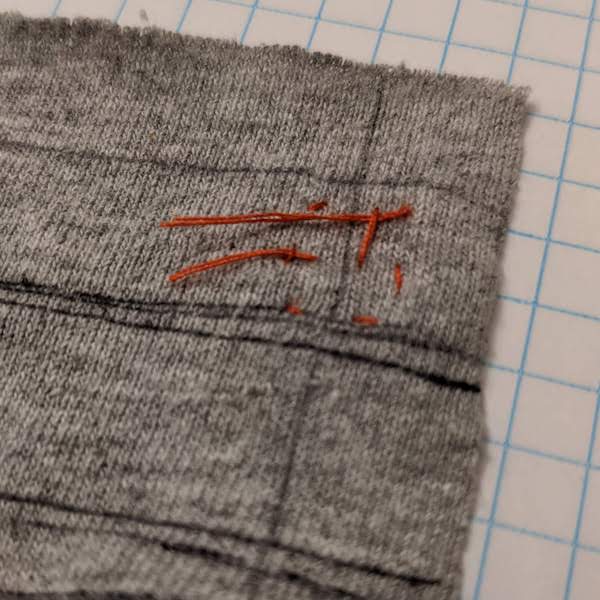
Now that the internal "wiring" of the strap was in place, I was ready to sew it shut. I folded the strap over and sewed along the two sides I wanted to close. I tried to sew as neatly as I could, and I'm fairly happy with the results, given that it's been many years since I last tried this. It's straighter than I am, at least.
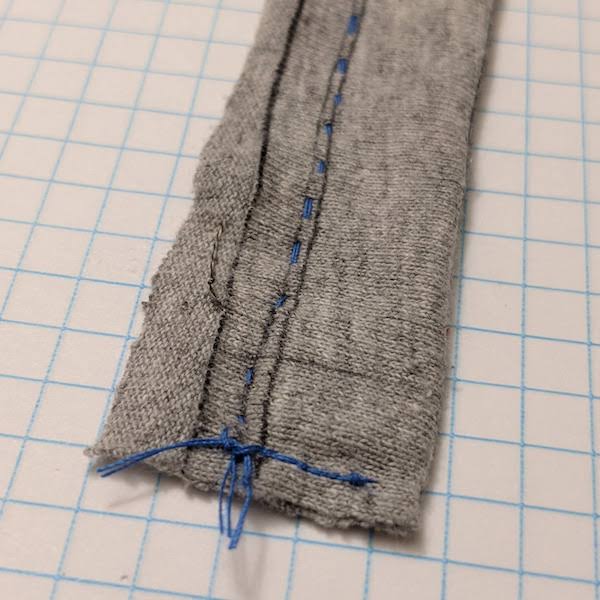
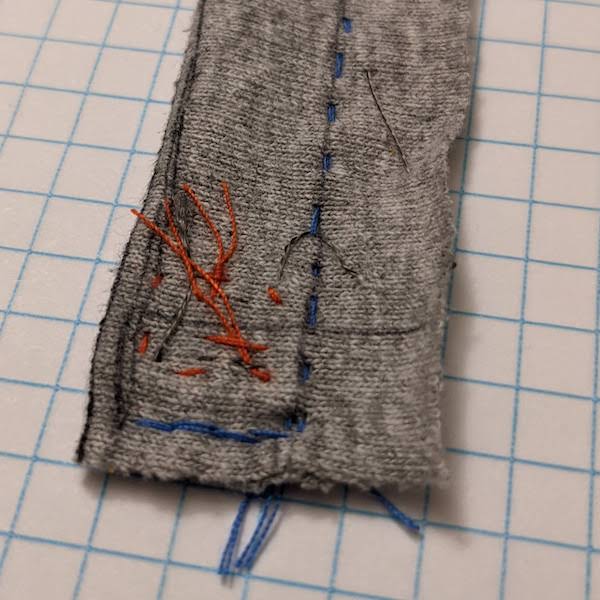
The two sides of the strap after sewing it closed. The Dual-Lock is now on the inside.
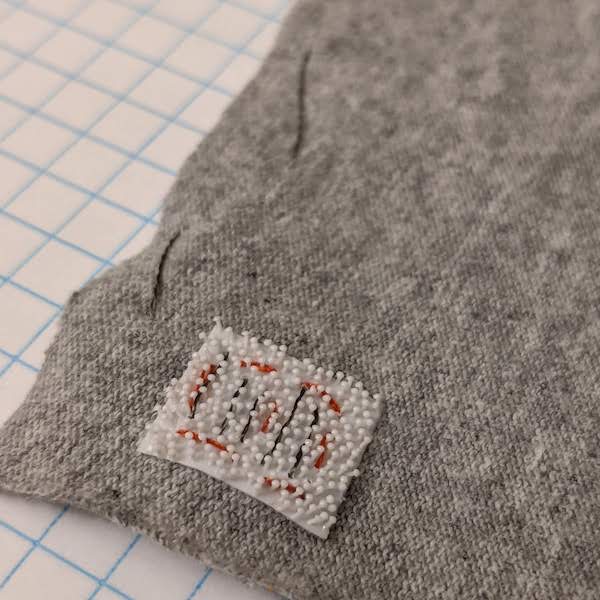
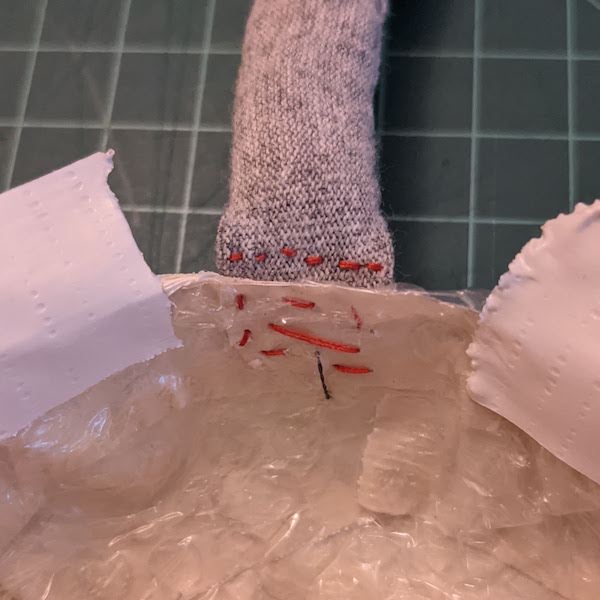
After that, I had the daunting task of turning the thing inside out. I had prepared for this to be a bit difficult, but it was much worse than I'd imagined. It took an incredibly long time, during which I enlisted the help of three chopsticks and began to fear that it would never make it all the way. Nevertheless, I continued to work my way down, one millimeter at a time, and when I approached the end and the Dual-Lock started to peek out, I nearly cried. With a great squeeze, the last part finally emerged and the reversal was complete! I had a nice right-side-out chin strap that had a long tail of conductive thread to attach to the hat later.
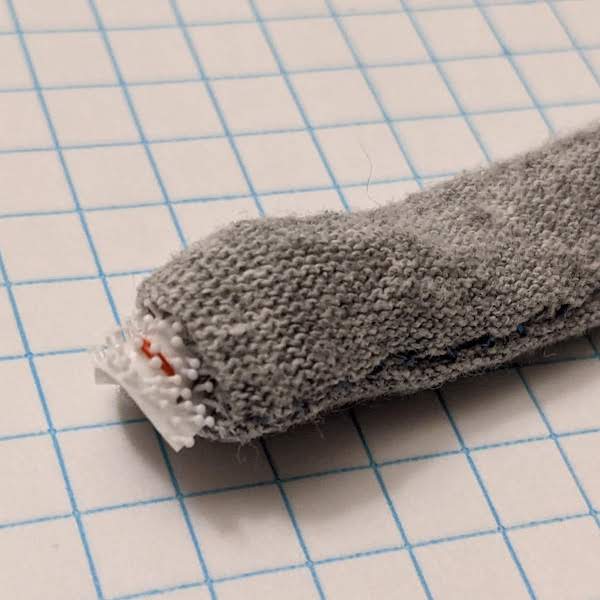
The Dual-Lock peeks out… then fully emerges!
At this point, I also tested for continuity from the tail to the Dual-Lock, to ensure the circuit would still work.
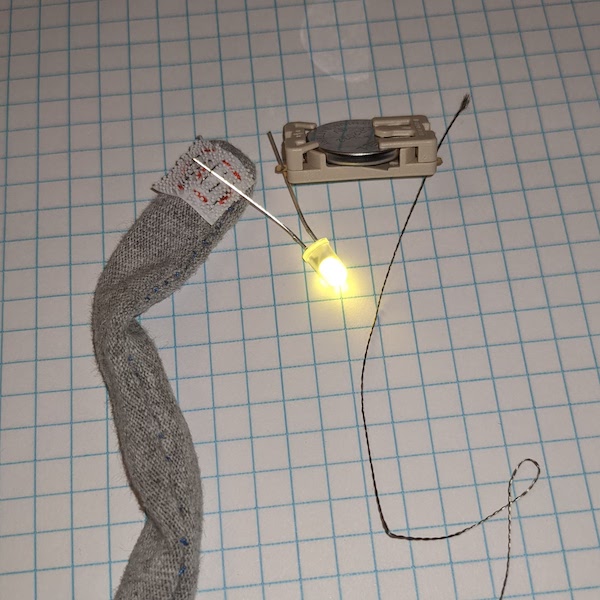
Thank goodness—it lights up!
My next task was to stuff the strap to make it more comfortable. I found some fake cobweb from a Halloween long forgotten which was suitably fluffy, and used a chopstick to stuff this down the length of the strap. Once it was full, I sewed off the end so the fluff couldn't come out.
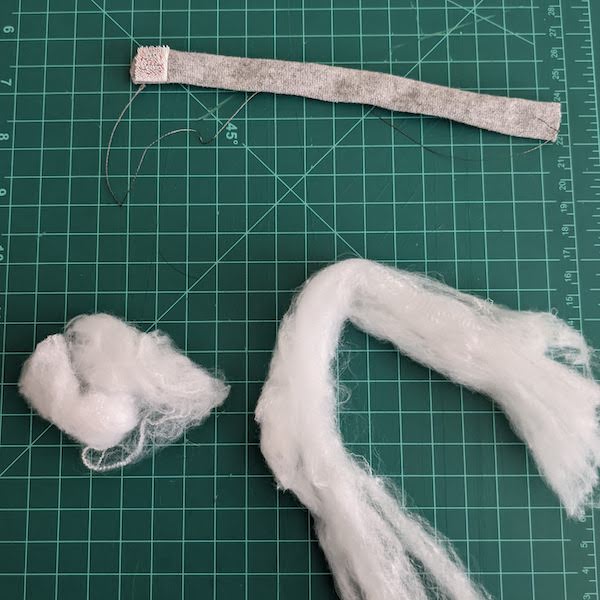
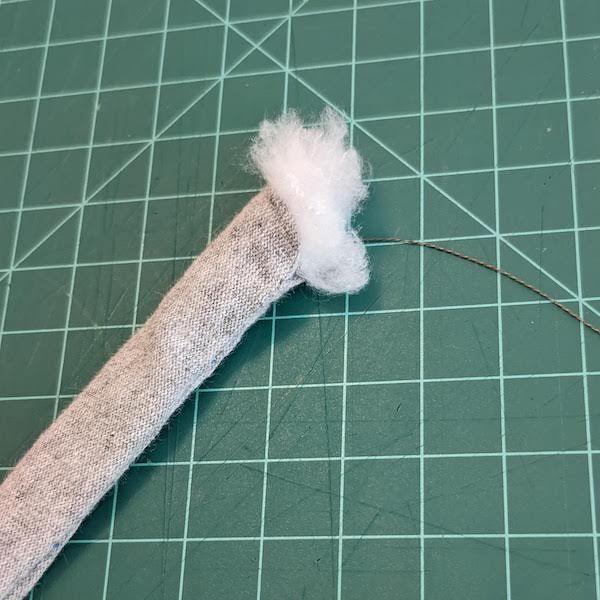
Stuffing the strap, then closing it off.
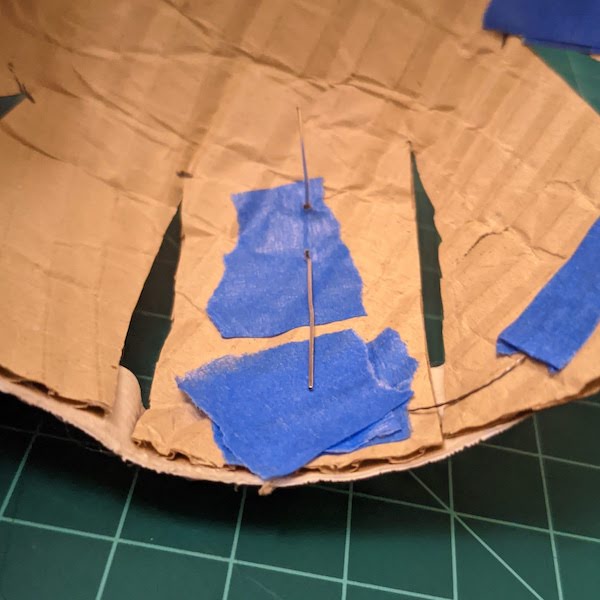
Next, I attached the strap itself to the inner part of the hat. I fed the conductive thread through first, then sewed the strap directly onto the (bubble-wrap and duct tape) liner, which actually wasn't too bad to sew through.

The attached strap from both sides.
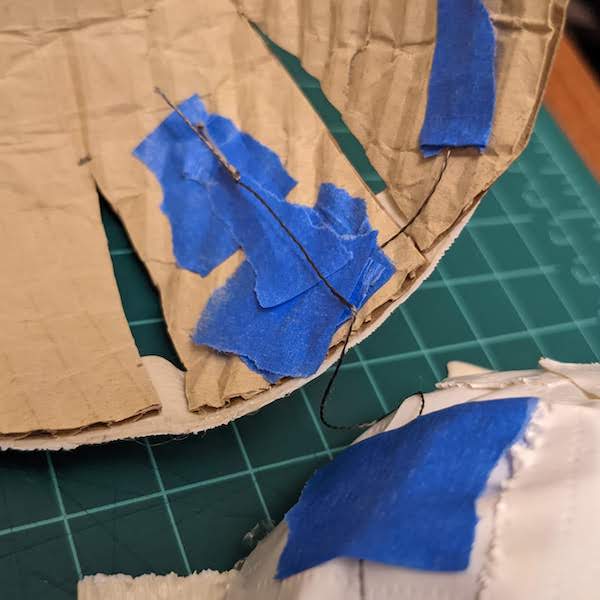
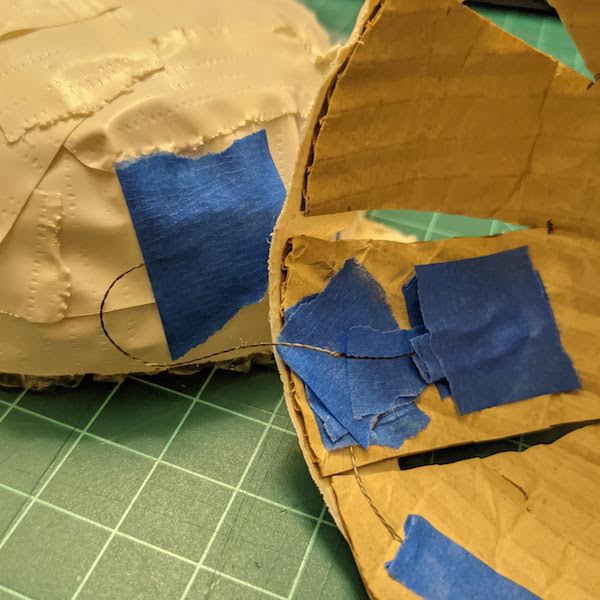
On the outer shell of the hat, I attached the other Dual-Lock strip that the strap would attach to. Using a longer strip here meant that the strap could be adjusted to be tighter depending on where it was attached. Because holes in the cardboard expanded easily, it wasn't an ideal sewing material, but an extra layer of tape helped solve this problem. I also added conductive thread to this strip, going the other direction to increase the contact opportunities with the conductive thread on the other side.
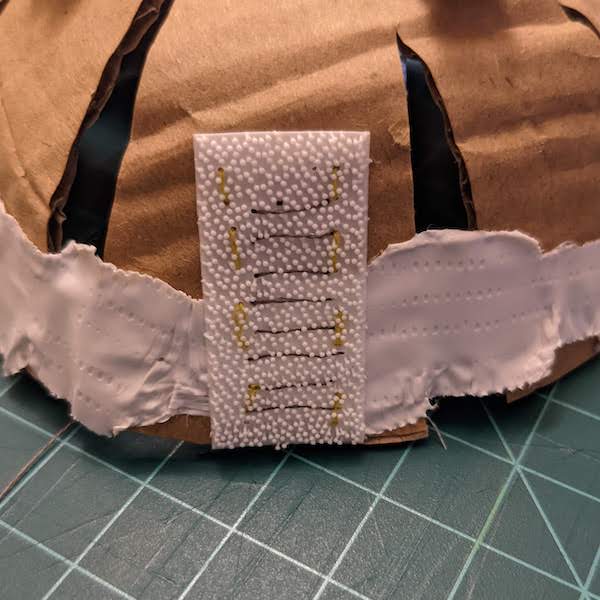
Dual-Lock now attached to the outer shell of the hat.
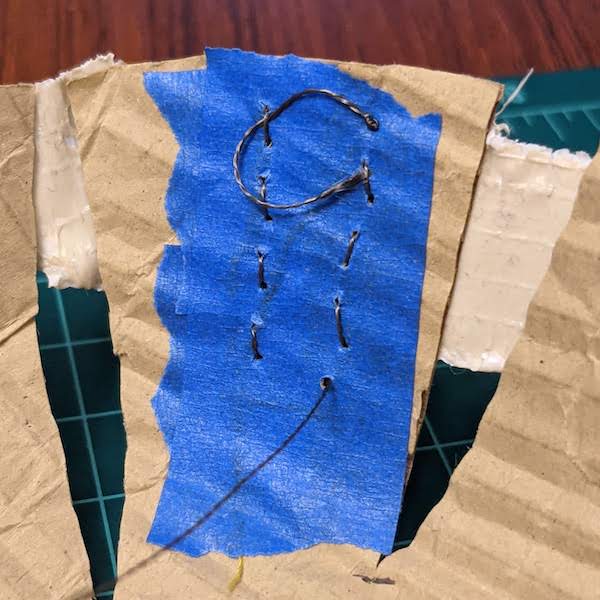
I routed the thread around the inside of the hat, then brought it outside again to tie it onto the battery older. I attached one lead of the LED directly to the other side of the batter holder, then stuck the other through to the inside. After each component, I applied a few layers of tape to ensure that the different pieces of thread and LED leads wouldn't come into contact accidentally.
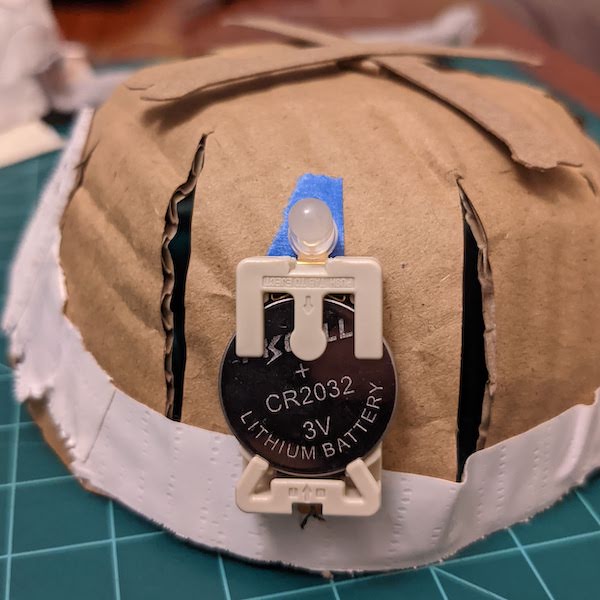
Battery holder and LED now attached!
Finally, it was time to put the two pieces of the hat together. I tied the remaining lose conductive thread from the strap, which was now coming out of the inner hat liner, to the remaining LED lead poking through the outer layer, then taped over the whole thing. Finally, I reassembled the two hat pieces with the original tape holding them together. The hat was now complete and functional—when the strap was attached, the LED would light.
Connecting the LED to the thread from the inner shell, then taping everything down.
analysis
I was really satisfied with my work this week—the strap turned out quite nicely and the fastening mechanism worked as expected with the Dual-Lock and conductive thread. Of course, the arbiter of success was not myself, but Roxy. How would she feel about the upgrade?
Well, it turns out the answer is, perhaps as expected, "about the same." Roxy initially refused to walk with the hat on, and did try to push it off, but her first attempt was unsuccessful. When we offered her a treat, though, she did perk up a bit, and eventually she went for it.
There was one nice surprise, though. With this strap, the hat could be pushed back a bit more, so the strap is behind her ears and doesn't affect them too much if properly positioned. This is much more satisfactory than the original prototype's strap which completely held down her ears.
After finishing her treat and refusing to budge again, Roxy did finally manage to remove the hat on her own. That said, seeing her go for the treat made me more confident that it would probably be possible to train her to accept the hat, or she would just get more comfortable after time.
I'm really happy with this prototype, so I don't think there's too much I would want to change. The biggest problem is that it is a little difficult to attach, since the hat itself is flexible. To press the Dual-Lock closed, right now I have to reach inside the hat to press it shut, and in the process of doing so I've already popped a few bubbles. For another iteration, I would definitely want to explore some type of rigid backing for this area to alleviate this problem. As far as my process, I'm not sure there's too much I would change there either. I think the best thing I could do to improve the process for myself would just be to practice sewing, so I could do it better and faster! Despite the occasional pain points (barely any blood, though) I did have a ton of fun with this project, so I'm excited to pursue other sewing experiments in the future.