concept
After brainstorming some different ideas for my final project, I settled on an interesting concept: the reverse shock vest.
The reverse shock vest is an exploration of consent and bodily autonomy for dogs. It takes the form of a wearable vest for dogs with the goal of helping dogs regain control of their own bodies. Rather than serving an electric shock to the dog, the device is instead activated by the dog to deliver an electric shock to a person who is touching the dog.
For my prototype, I created a physical prototype of the shock vest tailored to fit my roommate's dog Roxy—who has made previous appearances on this blog! It is primarily made out of fabric, but also includes some rigid components (cardboard) for structural reasons as well as electronics. The prototype doesn't have the actual shocking functionality, but does have an indicator light which is illuminated when the device is fitted.
goals
The purpose for creating this prototype is to evaluate the form factor of the vest and find out whether Roxy finds the device acceptable. In addition, this is an opportunity to further and explore and discuss ideas about the control that dogs have over their lives and bodies. The vest was tested by putting it on Roxy and observing her reaction, and taking her on a walk while wearing the prototype to get a better sense of how the vest might fare in a typical environment for a dog.
implementation
I started out by taking some measurements of Roxy, which was a somewhat difficult process as she is apparently not a huge fan of tape measures. Eventually, I got the measurements I needed and left her in peace to go draw up a pattern for my vest.

As it had before, cutting out the pattern proved to be one of the most difficult parts of the whole affair. Besides my cutting mat, I don't have any tools to help with this (for example, a rotary cutter or even a large ruler), so I had trouble cutting straight edges and keeping cuts, markings, and measurements parallel on the stretchy fabric. Admittedly, the t-shirt material was probably not the most lenient fabric I could have used for this. Either way, I managed to hack out a mostly-rectangular-ish section of fabric that was roughly of the dimensions I needed.
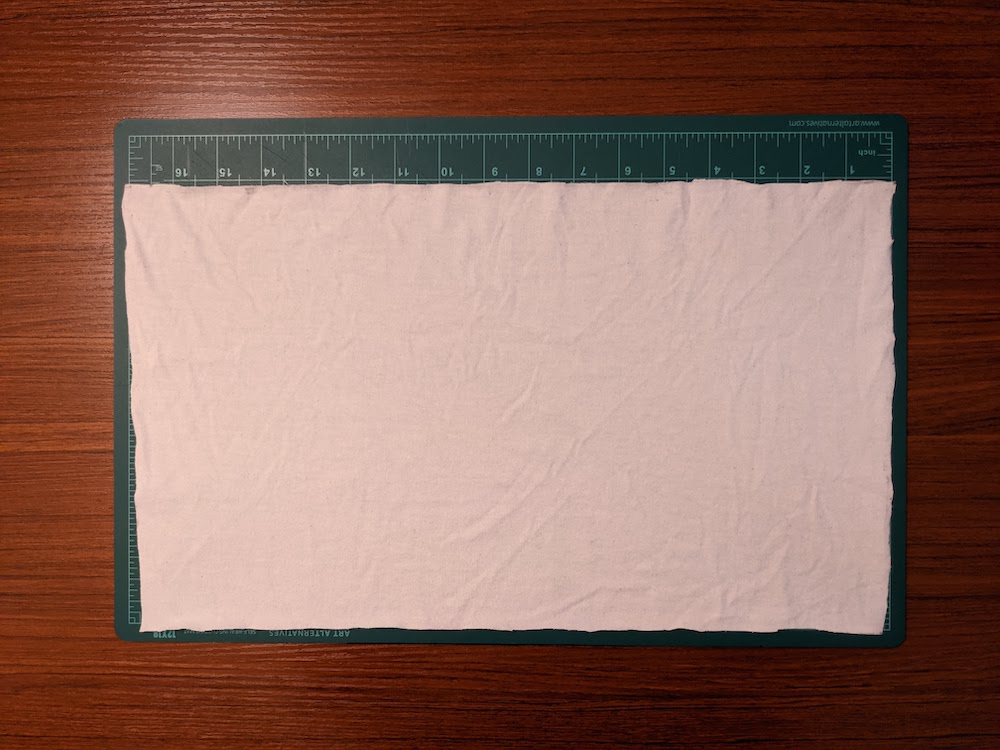
It's rectangular in spirit.
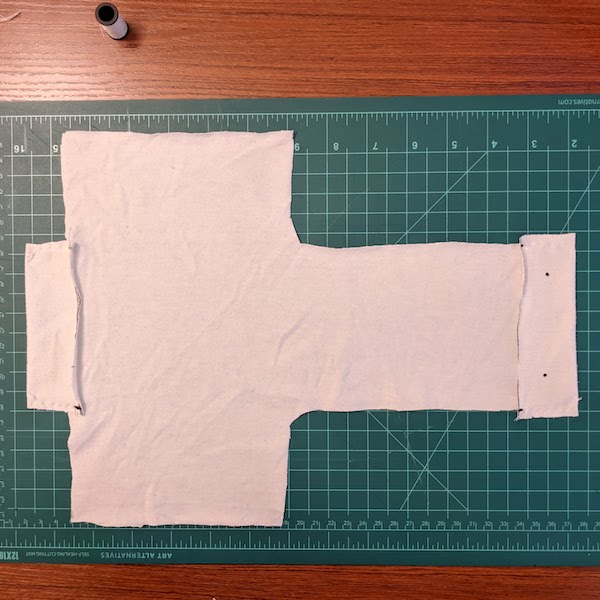
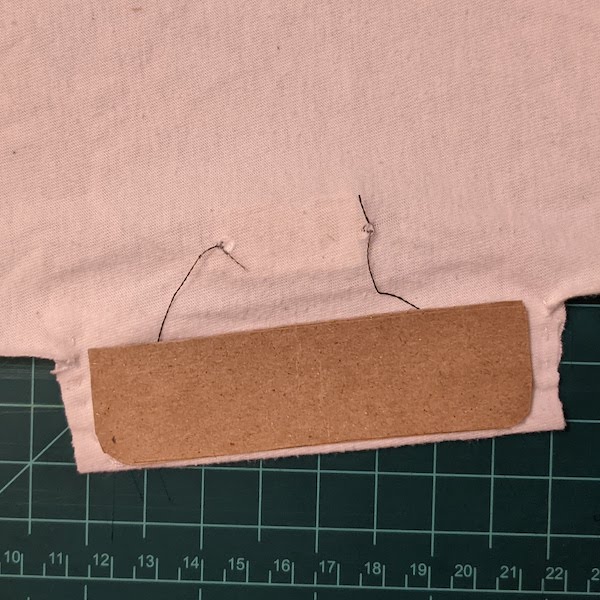
I folded over the two sides to make the flaps that secure the vest, and sewed those to form little pockets, before cutting away the extra corners. I also sewed snaps onto these two flaps—something that would have been a lot easier to do before I folded and sewed them over!
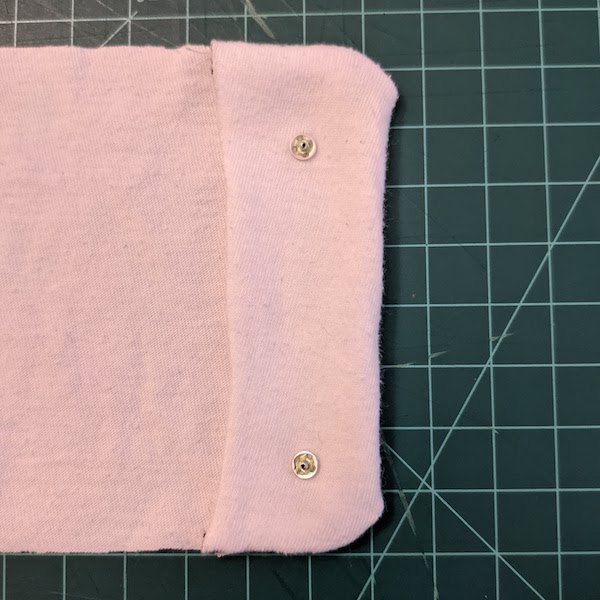
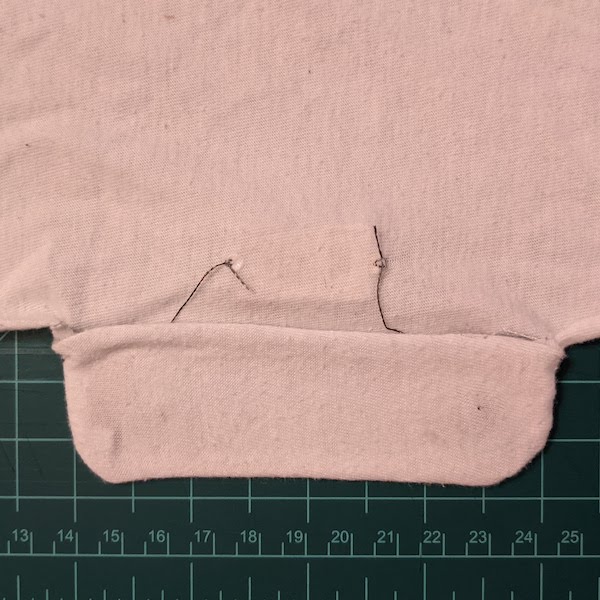
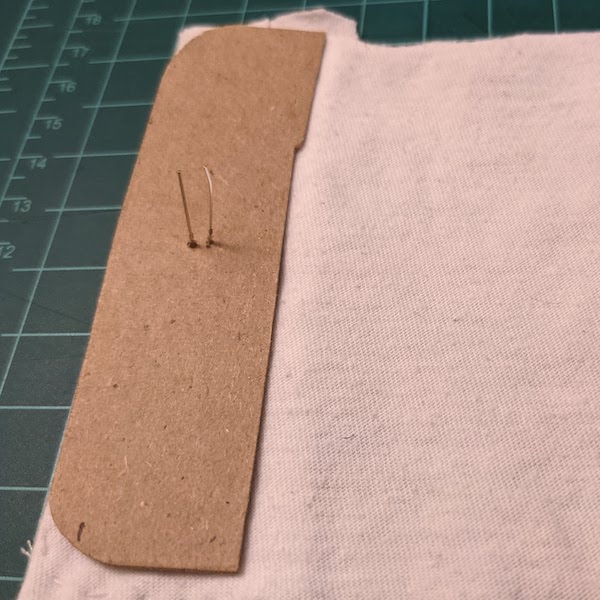
I also needed to add the circuit that would power the indicator light. The side with the battery holder was pretty straightforward, because the two terminals of the battery holder could be connected directly to the snaps. I connected them with conductive thread, then added a cardstock insert cut to fit, which added rigidity to the flap. Finally, I inverted the flap, hiding the sewing and cut edges.
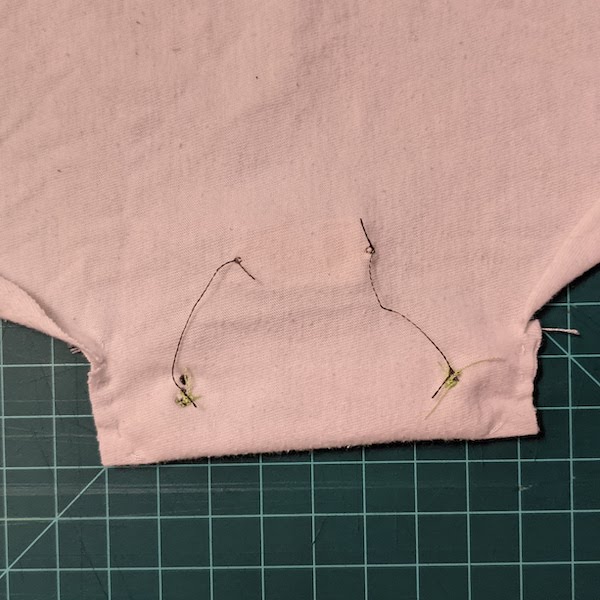
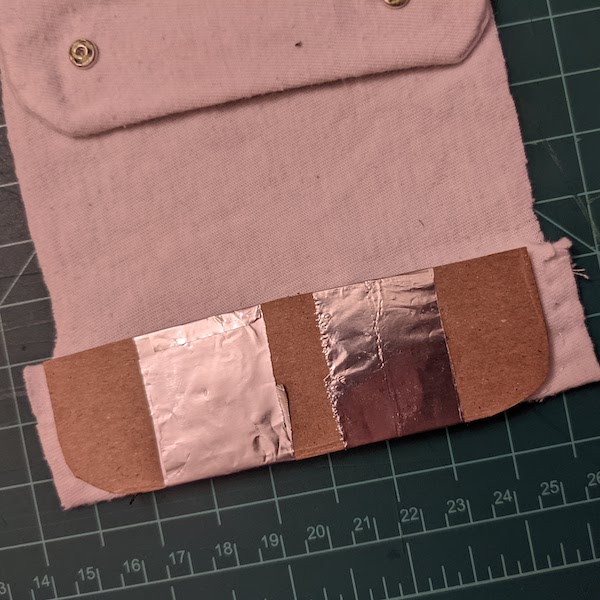
The other side was a little trickier, since the LED was on the opposite side of the flap as the snaps, and I still needed a cardboard insert for rigidity. I also didn't want any conductive thread sewn onto the outside of the flap or any exposed fabric where it would be visible after the vest was finished. To acheive this, I fed the LED through one piece of cardstock, folding the leads down in opposite directions. Then I made two conductive pads out of aluminum foil on another piece of cardstock. These were aligned so they would make contact with the leads of the LED. I connected the snaps to these pads with conductive thread and inverted the flap.
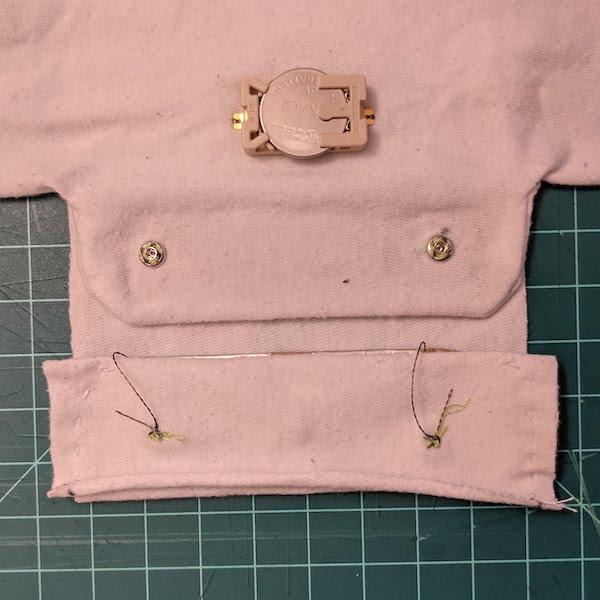
Finally, the two attachment flaps were completed. No conductive thread was visible from the outside, and the cardstock helped give the flaps some rigidity which made them easier to attach and detach.

evaluation
Once the vest was completed, it was time to see what Roxy thought. To my delight, Roxy warmed up to the vest quite quickly, and was even willing to wear it out for a walk. This allowed me to test the vest in a range of Roxy's different postures.
analysis
As far as whether Roxy found the vest acceptable, I would consider this to be successful. Roxy took less than a minute to get comfortable with the vest and she was quickly back to her usual self.
The testing did expose some areas where the vest could be improved. Most notably, the front and back flaps of the vest quickly bunched up or folded over. I hadn't reinforced these parts at all or added any structure to hold them in place, so this was somewhat to be expected. I believe this issue could be mitigated by adding additional straps or fasteners as shown in the video above, and also by adjusting the proportions of the vest to minimize the free-hanging areas.
The reinforcements I had added to the flaps certainly helped them keep their shape, but it turned out to be somewhat difficult to line up the snaps on the two flaps when attaching them. I think velcro might be a better solution for the flaps, as it's more forgiving with placement and also allows for some adjustability. I've already shown in one of my earlier projects that I can make an electrical connection through velcro/Dual-Lock.
One facet that I didn't explore in this project was the ability for the dog to toggle the shocking functionality on and off. It seems like this would be an important feature of the vest, but also incredibly difficult—the dog would need to understand the functionality and purpose of the vest, know its current state, and be able to operate the toggle in some dog-friendly way.
This project, in its current state, also seems to fail at its ultimate goal of supporting canine bodily autonomy. In particular, it's not clear that dogs are even able to consent to wearing the vest, and ultimately, a human has the final say over whether the vest is active simply by removing it. This goal is certainly better acheived by training humans to recognize dogs' body language and signaling, as well as respecting a dog's natural ways of showing disinterest in an interaction, such as barking, growling, biting, or retreating.
If I were to do a similar project again in the future, I think the most important thing I would want to change is to be more thoughtful about planning for the order of operations with the different construction steps. I'm still finding it very difficult to reason about where everything will end up and how to work with the fabric that will be turned inside out! For example, it would have been much easier to sew the snaps onto the flaps before sewing the flaps down, but I wasn't sure I could figure out where they were supposed to be. I've found that drawing things out and practicing with scraps of fabric that I can take apart are super helpful for figuring this out. I also want to try working with different materials or types of fabric. This quarter I mainly worked with t-shirt scraps, since that's what I had available, but I know different materials are better suited for different purposes and it would be vaulable to experiment and gain experience with different materials.